How to draw really realistic borders
 Remember
that grid produces a hex grid 2 pixels wide.
Remember
that grid produces a hex grid 2 pixels wide.
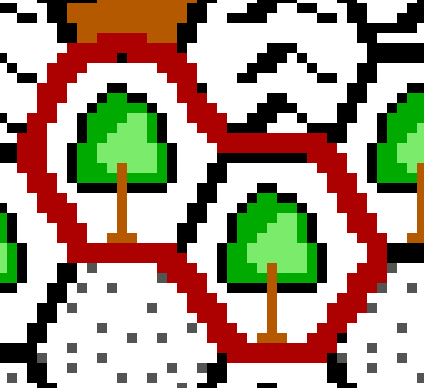
This border was drawn using the paint brush tool, with a 2 pix width selection and a red foreground color.
We all agree that this is not a clean result...
 See
that the region is made of two lightly forested hexes in an arctic place.
See
that the region is made of two lightly forested hexes in an arctic place.
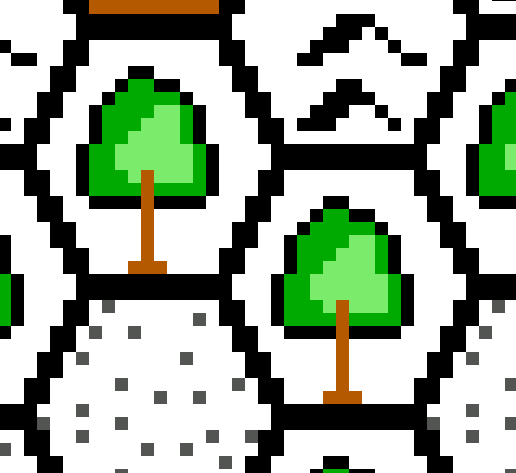
Zoom in as much as you need to be able to correctly see every pix (8 to 12 times seems good to me)
Select the paint brush to 1 pix and pick the foreground color you want to take to make your border (here it's red)
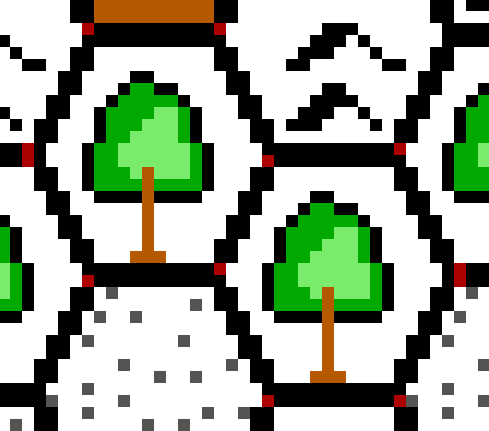 Place
a red dot at every angle of the region you want to enclose in your border
Place
a red dot at every angle of the region you want to enclose in your border
Use the magic wand to select the internal remains of the black grid hexes. Make sure you have the border color as a background color now (you can use the reverse color arrows for this)
Once you have checked that your selection only enclose the hexes you wanted, press delete on the keyboard. the background color shall now replace the previous black color of the hexes.
 The
border is now very clean and do not spread out on the external hexes.
The
border is now very clean and do not spread out on the external hexes.